Center console — removal and installation
Warning: The models covered by this manual
are equipped with a Supplemental Restraint System (SRS), more commonly known as airbags. Always disarm the airbag system before working in the vicinity of any airbag system component to avoid the possibility of accidental deployment of the airbag, which could cause personal injury (see Chassis electrical system). Do not use a memory saving device to preserve the PCM’s memory when working on or near airbag system components.
1. Disconnect the cable from the negative terminal of the battery (see Engine electrical systems).
2. Place the shifter in NEUTRAL.
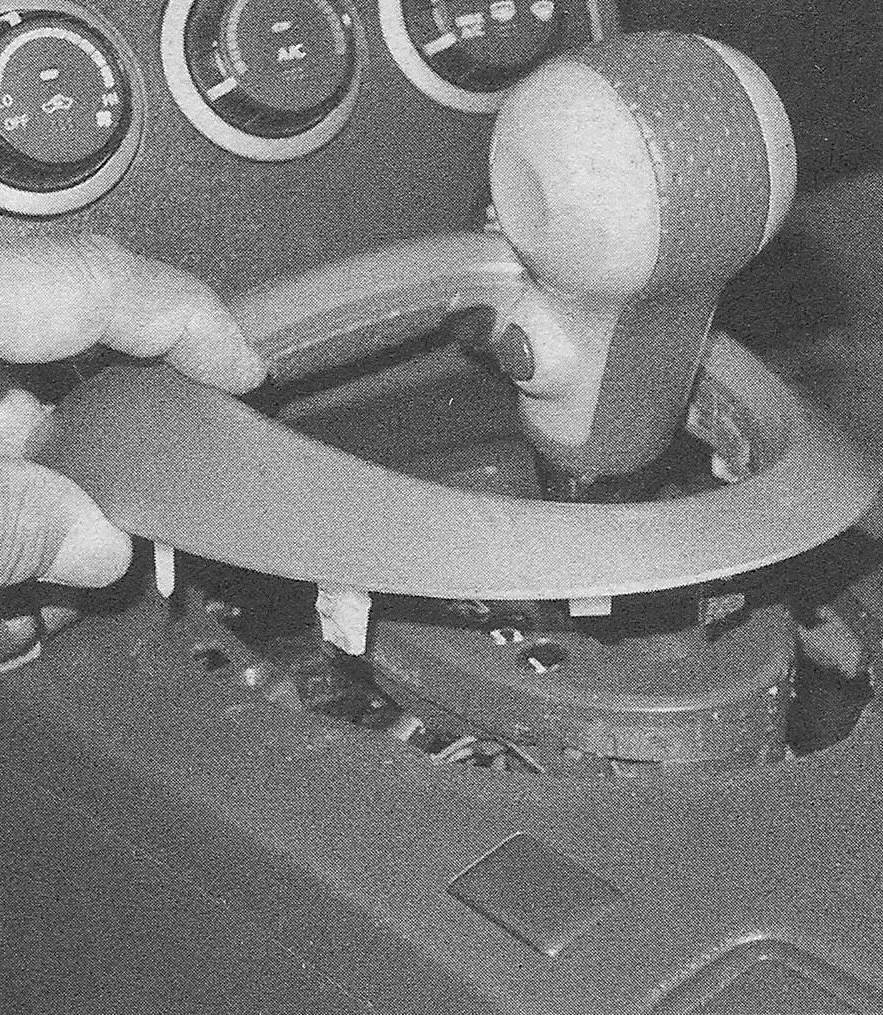
3. Use a plastic trim tool or a screwdriver wrapped with tape to carefully pry up the gear shift cover. Remove the cover (see illustration).
22.3 Pry up the shifter trim plate
4. Use a plastic trim tool or a screwdriver wrapped with tape to carefully pry out the heating and air conditioning control panel/ cover assembly. Pull out the assembly and disconnect the electrical connectors (see Heater and air conditioning control assembly — removal and installation).
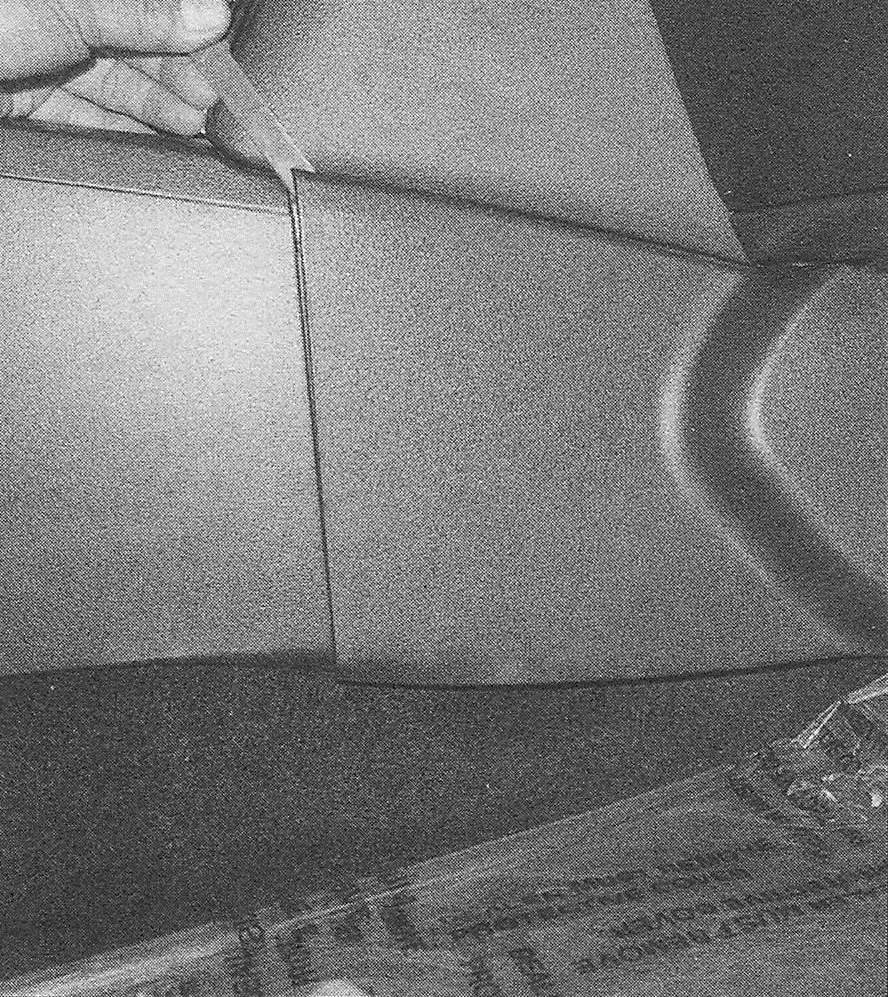
5. Working at the front of the console pry out the side trim panels from both sides of the console (see illustration).
22.5 Pry up the trim panel, starting from the rear then along the top edge to disengage the clips
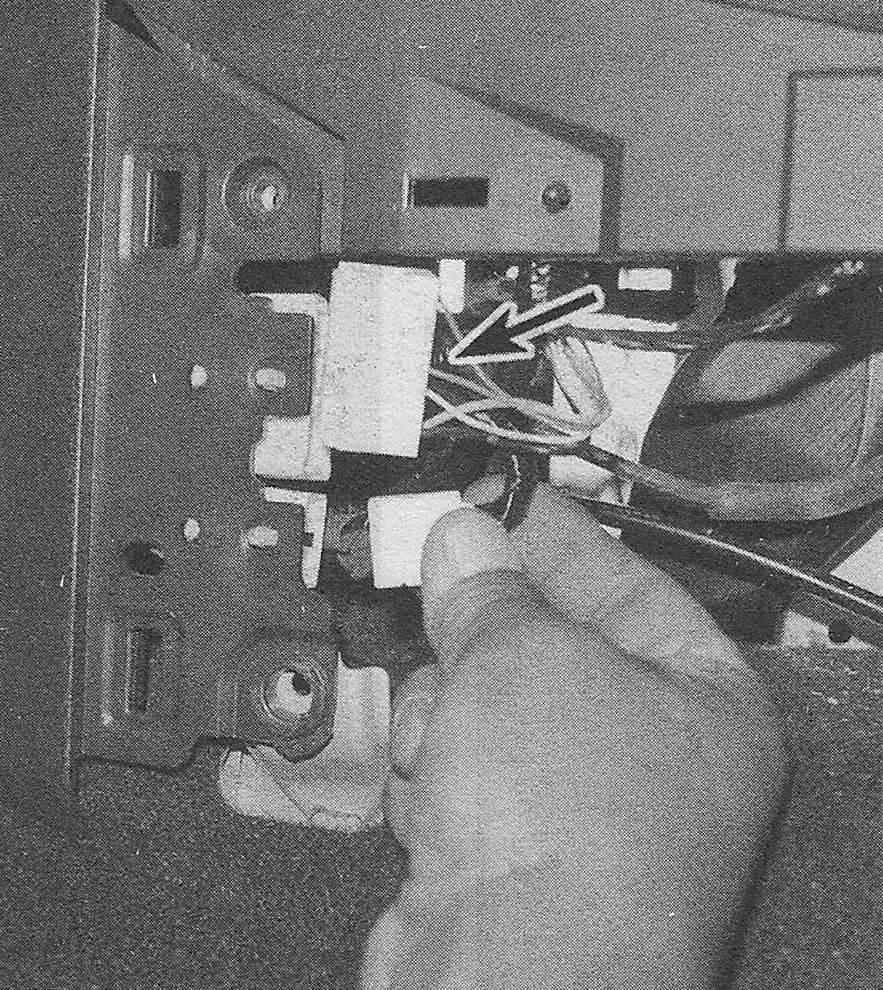
6. On the right side once the trim panel is removed, disconnect the electrical connectors (see illustration).
22.6 Disconnect the electrical connectors from the right side of the console
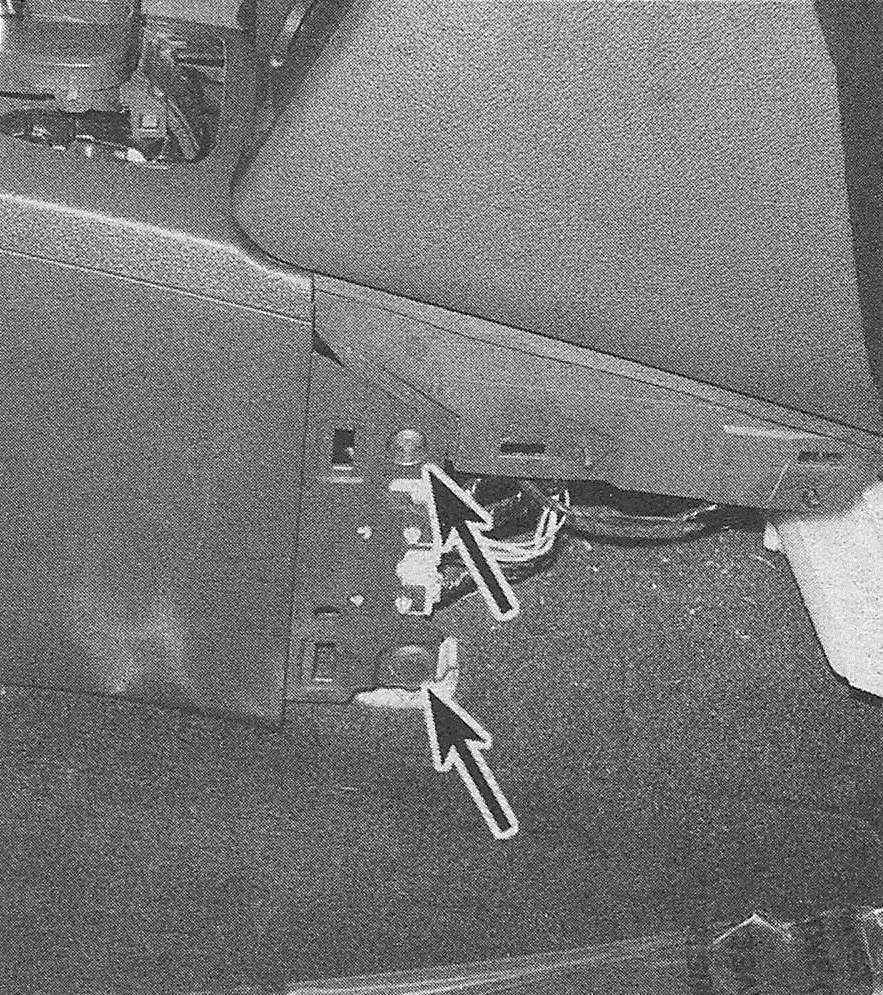
7. Remove the fasteners from each side of the console (see illustration).
22.7 Remove the fasteners from the sides of the lower console trim
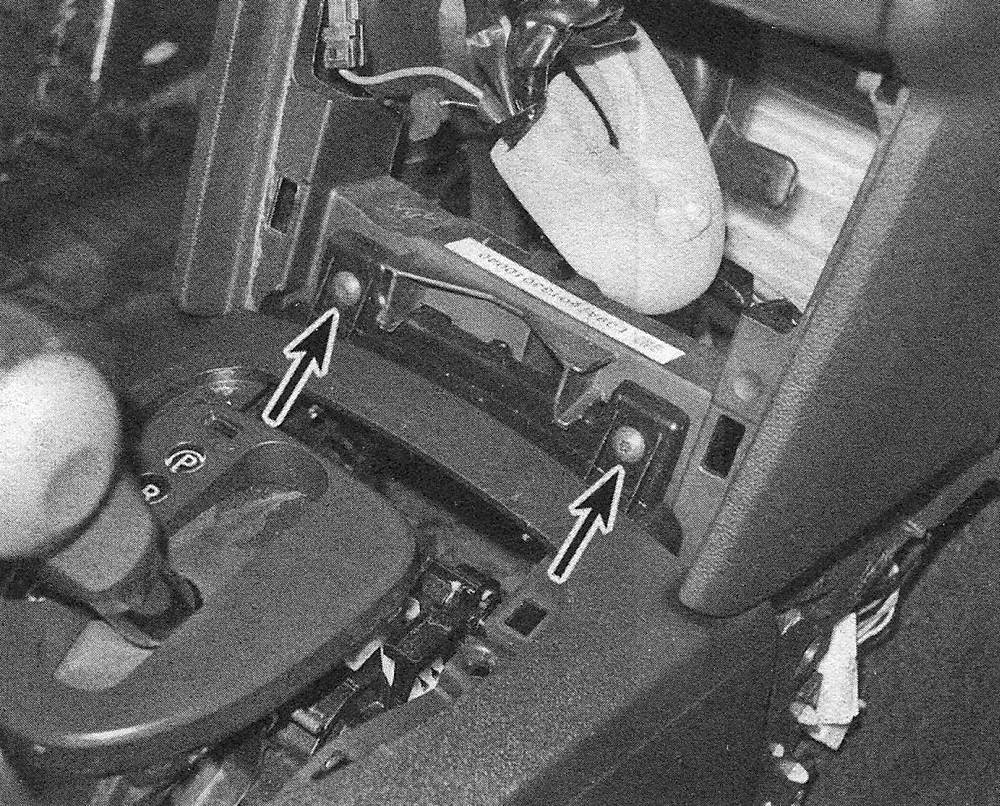
8. Remove the screws from the front, top portion of the console (see illustration).
22.8 Remove the fasteners from the top of the console
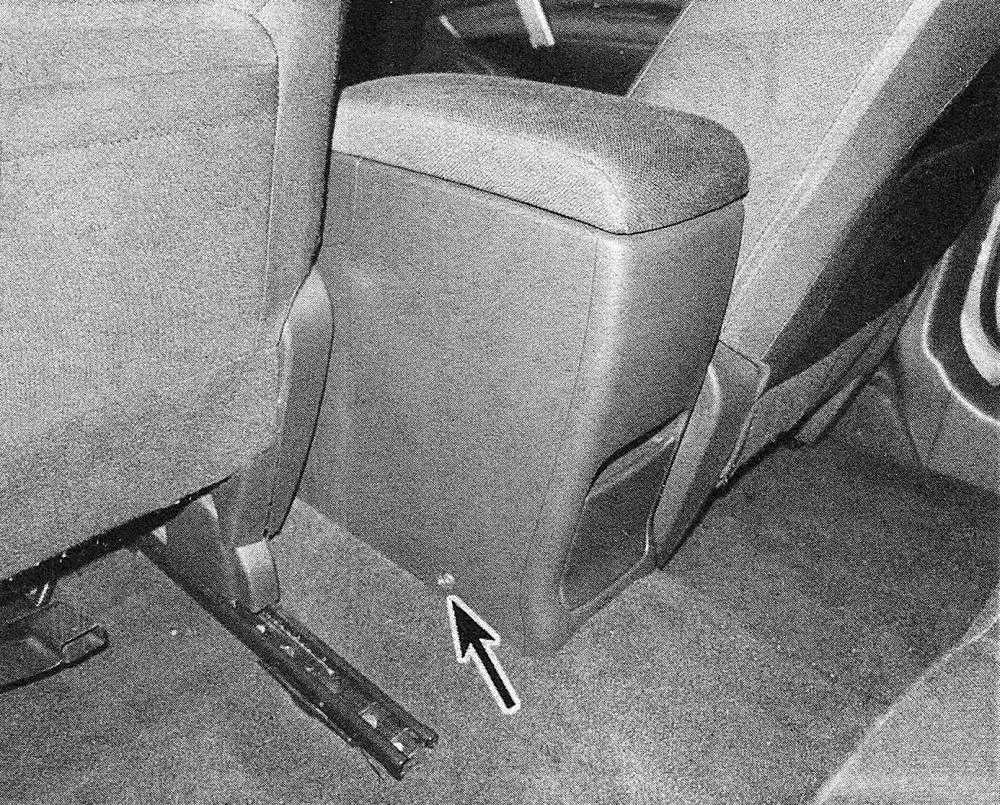
9. Slide the front seats forward. On 2015 and earlier models remove the fasteners from the rear sides of the trim panel (see illustration), and on 2016 and later models, carefully pry out the rear trim panel/vent assembly from the end of the console to access the rear mounting bolts.
22.9 Remove the fasteners from the rear of the console — right side shown left side identical
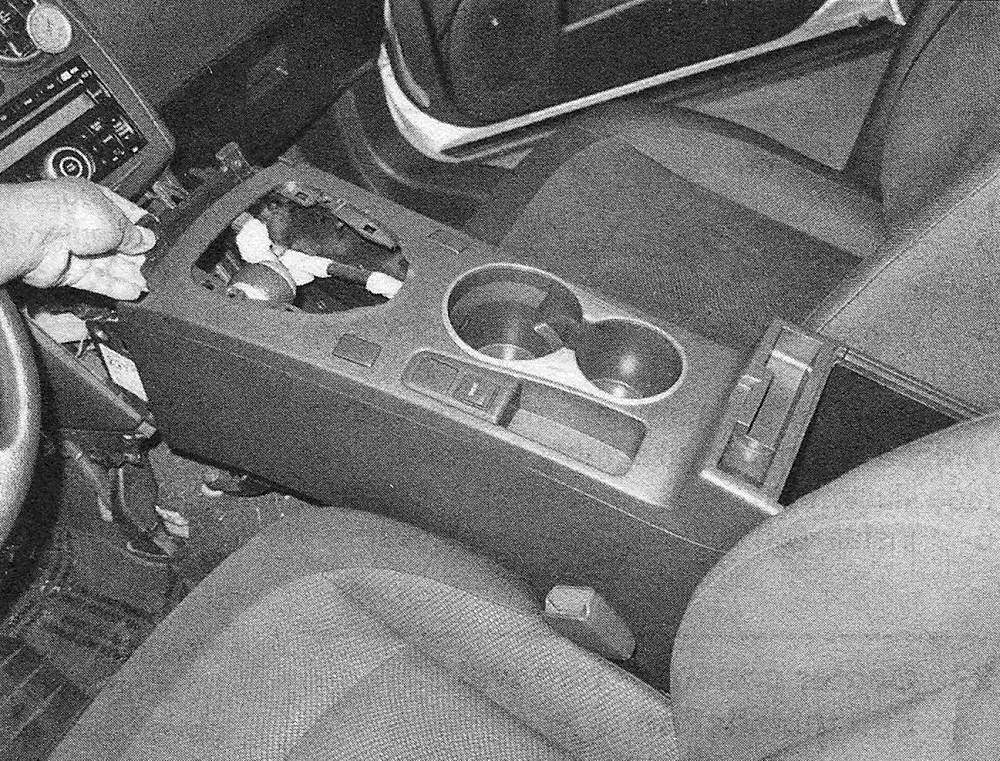
10. Lift the console out of the vehicle (see illustration).
22.10 On 2013 and earlier models/2014 and later Rogue Select models, lift the console assembly out starting from the front. On 2014 and later non-Select models, start from the rear
11. On 2013 and earlier models/2014 and later Rogue Select models, once the console is removed, the console top can be separated and the electrical connectors disconnected from the top of the cover (see illustrations). To replace a console switch, remove the mounting screws and switch from the console top.
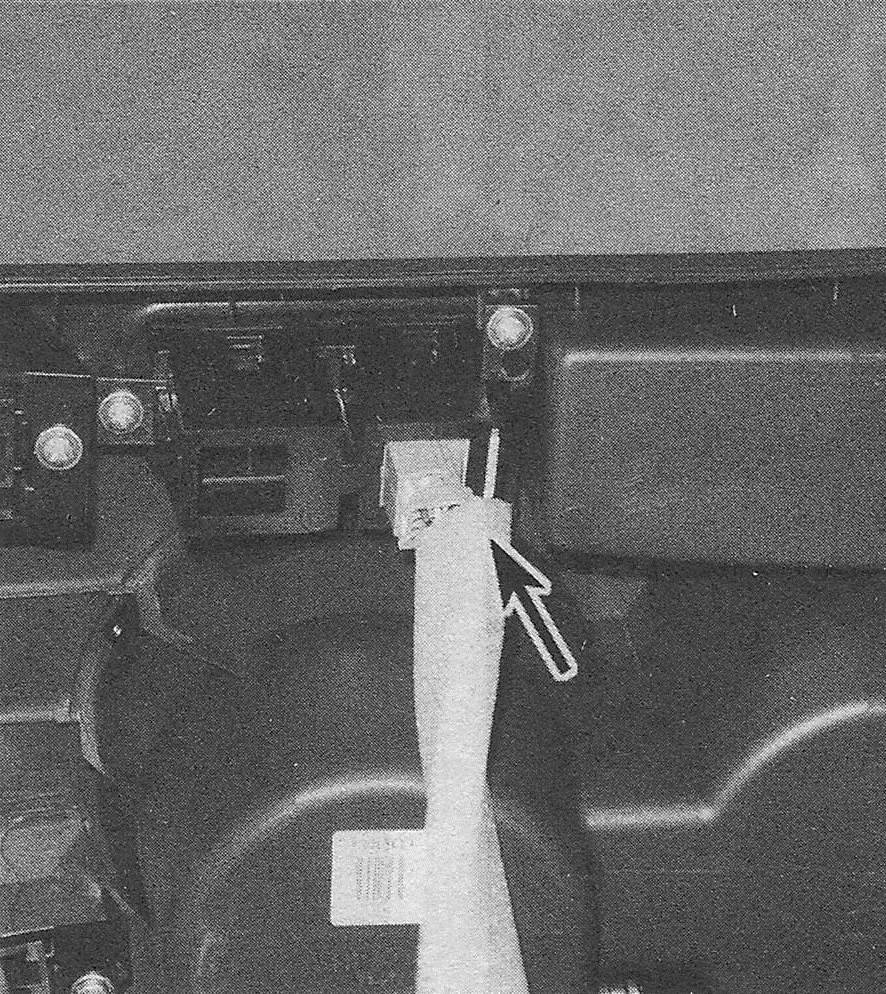
22.11a Carefully separate the top of the console from the lower half …
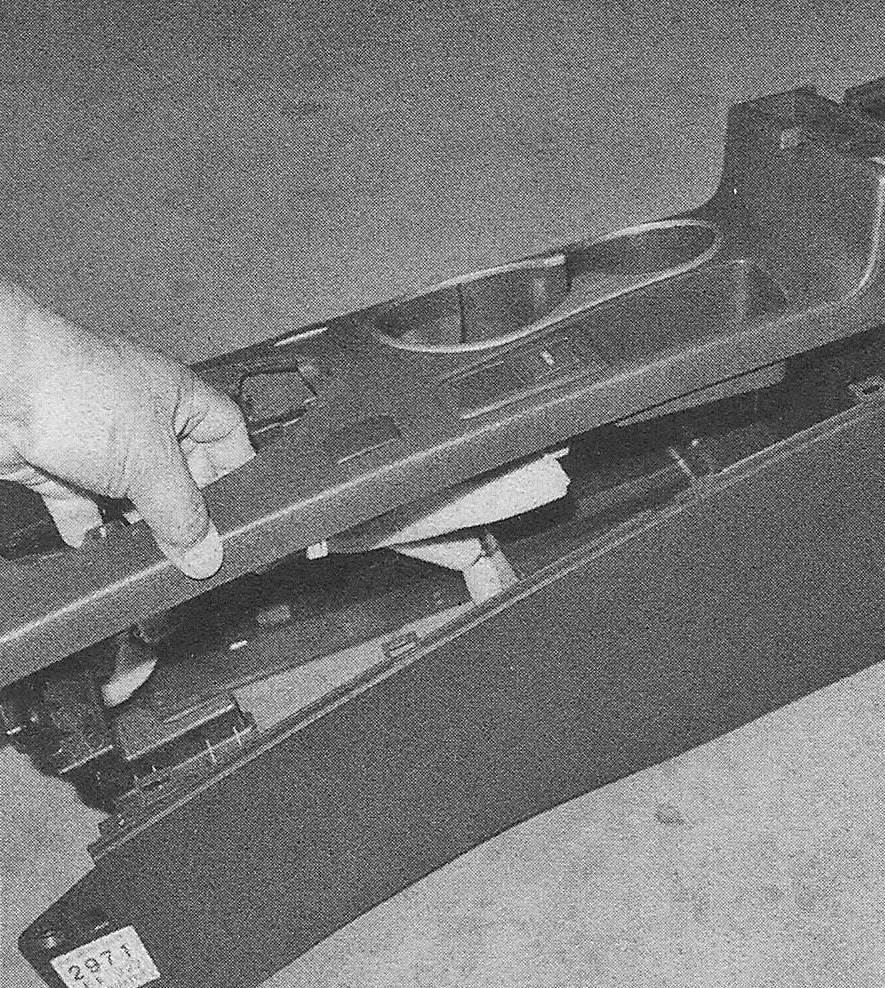
22.11b … then disconnect the electrical connector (s)
12. On 2014 and later models (except Rogue Select models), pry the cup holder from trim panel and disconnect the electrical connectors to the switches. To replace the seat heater switches, push the switch out from the back side.
13. Installation is the reverse of removal.